
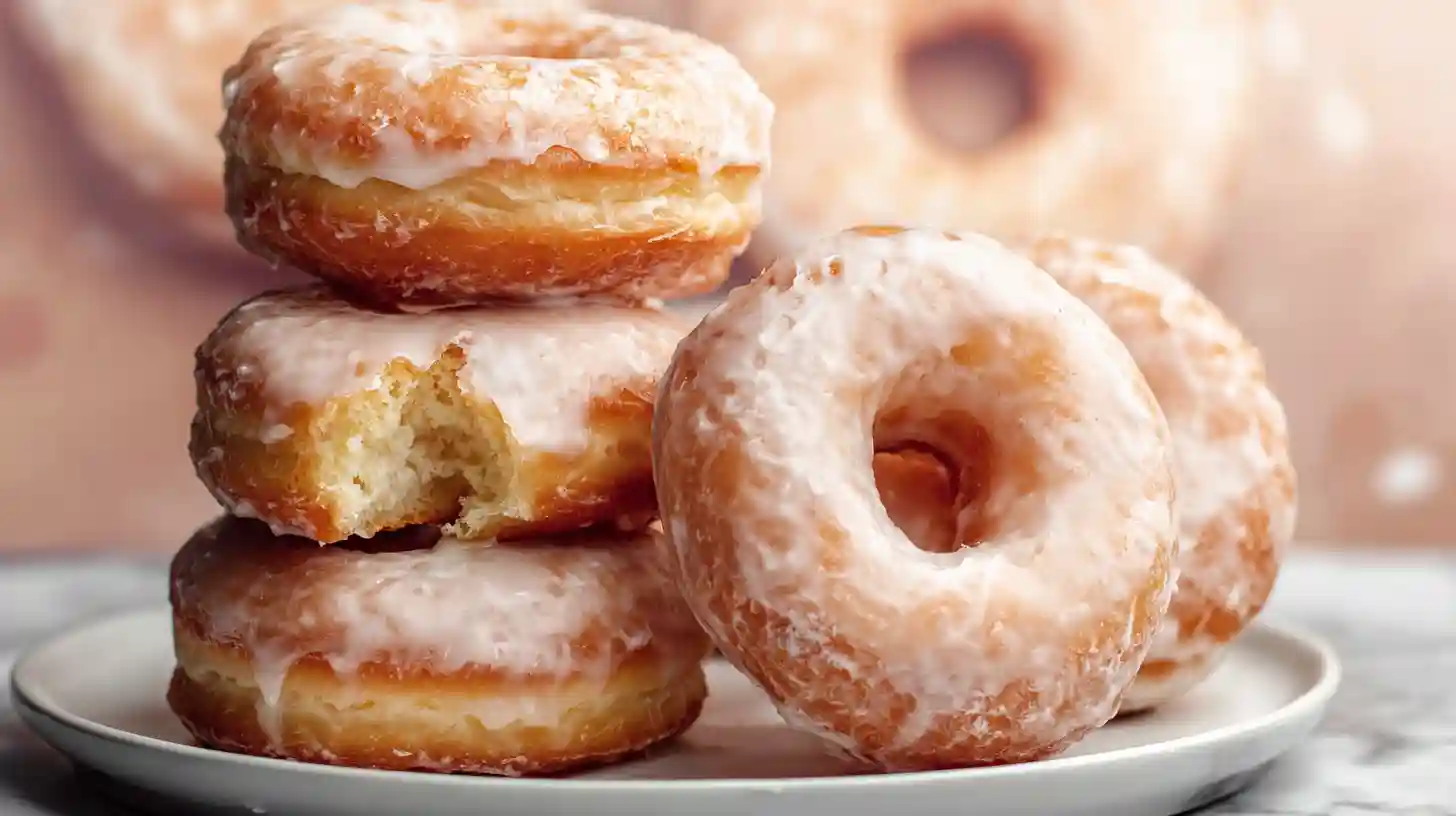
There is a version of a glazed donut you get at a really good bakery, soft all the way through, light without being hollow, and with a glaze thin enough to crack when you bite through it rather than a thick sugary coating that overpowers everything else. Homemade Glazed Donuts made from a yeasted milk dough can actually get there, and while the process takes a few hours from start to finish, most of that time is passive rising rather than active work. The result is a dozen donuts with a texture and flavor that no store-bought version really matches, and the total hands-on time is about 40 minutes across the whole process.
The milk in the dough is what makes the difference in texture. A milk-based dough produces a softer, more tender crumb than a water-based one because the fat and protein in milk inhibit gluten development slightly, which keeps the interior feathery rather than bready. Whole milk gives the best result here.
Homemade Glazed Donuts Ingredients
The Dough
- 3 cups bread flour or all-purpose flour, plus extra for rolling
- 2.25 tsp instant yeast, one standard packet
- 3 tbsp granulated sugar
- 1/2 tsp fine salt
- 3/4 cup whole milk, warmed to about 110°F
- 2 large egg yolks, room temperature
- 4 tbsp unsalted butter, softened to room temperature
- 1 tsp vanilla extract
The Glaze
- 2 cups powdered sugar, sifted
- 5 to 6 tbsp whole milk or heavy cream
- 1 tsp vanilla extract
- 1 pinch fine salt
For Frying
- Neutral oil for frying, such as vegetable, canola, or sunflower oil, enough to fill a heavy pot 3 inches deep
How to Make Homemade Glazed Donuts from Scratch
Egg yolks only rather than whole eggs make a meaningful difference to the finished dough. Yolks add fat and richness without the extra water that egg whites contain. Extra water in a donut dough makes it stickier to handle, harder to cut cleanly, and produces a slightly chewier crumb after frying rather than the soft, pillowy interior that makes these worth making. Room temperature butter added gradually during kneading creates a dough that is smooth, slightly tacky, and very pliable, similar to a brioche-style dough but lighter. This is the foundation of easy baking recipes that produce genuinely impressive results without requiring advanced skills.
- Combine flour, instant yeast, sugar, and salt in the bowl of a stand mixer fitted with the dough hook. Whisk briefly to distribute. Add warm milk, egg yolks, and vanilla. Mix on low for 2 minutes until a shaggy dough forms, then increase to medium speed and knead for 4 minutes.
- Add softened butter one tablespoon at a time with the mixer running on medium speed. Wait for each tablespoon to fully disappear into the dough before adding the next. After all butter is incorporated, continue kneading on medium speed for 6 to 8 minutes until the dough is smooth, soft, and passes the windowpane test, meaning a small piece can be stretched thin enough to be slightly translucent without tearing. This gluten development is what gives the donut its structure and allows it to hold the air bubbles created during rising without collapsing during frying.
- Shape the dough into a ball and place in a lightly oiled bowl. Cover with plastic wrap and let rise at room temperature for 1 to 1.5 hours until doubled in size. The exact time depends on kitchen temperature. A warmer kitchen shortens the rise, a cool one extends it. Judge by the dough size rather than the clock.
- Turn risen dough onto a lightly floured surface and press gently into a 1/2-inch thick rectangle. Do not use a rolling pin aggressively since this degasses the dough too much. Cut rounds with a 3-inch cutter and holes with a 1-inch cutter. Re-roll scraps once to cut additional donuts. Place cut donuts and holes on parchment-lined baking sheets, spaced 2 inches apart, and cover loosely with a clean kitchen towel. Let proof for 30 to 45 minutes until puffed and noticeably lighter to the touch.
- Heat 3 inches of oil in a heavy Dutch oven or deep pot to 350°F to 360°F. Use a thermometer. Oil temperature is the single most important variable in frying. Too hot and the outside browns before the inside cooks through. Too cool and the donuts absorb excess oil and taste greasy. Fry 2 to 3 donuts at a time for 60 to 90 seconds per side until deep golden. Transfer to a wire rack set over a sheet pan and let drain for 2 minutes before glazing.
- Whisk glaze ingredients together until completely smooth. Dip each warm donut face-down into the glaze, lift, let excess drip for 3 seconds, and return to the rack glaze-side up. The warmth of the donut helps the glaze set to a thin, slightly crackled coating rather than a thick shell.
Oil Temperature Troubleshooting
Greasy donuts almost always mean the oil dropped below 340°F when the cold dough hit it. Adding too many donuts at once lowers the oil temperature sharply. Frying in small batches of two or three and letting the oil return to 355°F between batches prevents this. Donuts that are very dark outside but raw inside mean the oil was too hot, above 370°F, and the exterior set before the interior had time to cook through. Donut holes cook faster than full donuts and need only 45 to 60 seconds per side at the same temperature. Check the oil temperature with a thermometer every two to three batches rather than assuming it stays stable throughout the frying session.
Variations and Fun Easy Recipes With the Same Dough
The base dough is versatile enough to work as a foundation for several tasty baking projects beyond glazed donuts. Roll the cut donuts in cinnamon sugar immediately after frying while still hot and the sugar adheres without any glaze needed, which is faster and works well as delicious snacks recipes for an informal setting. For a chocolate glaze, melt 2 ounces of dark chocolate into the glaze base and reduce the milk by one tablespoon for a thicker, fudgier coating. A maple glaze made with a tablespoon of pure maple syrup replacing an equal amount of milk in the standard glaze adds depth without changing the consistency and works particularly well as a cafe food pairing with coffee.
Storing and Serving
Homemade glazed donuts are at their peak in the first 4 to 6 hours after frying and glazing, while the interior is still soft and the glaze has that slight crackle. After overnight storage the glaze softens from moisture in the donut and the interior becomes slightly more dense, though still good. Store loosely covered at room temperature rather than airtight since an airtight container traps moisture and softens the glaze completely overnight. For baked dessert recipes meal prep, the unfried proofed donuts can be arranged on a parchment-lined sheet, covered tightly, and refrigerated overnight after the second proof. Fry directly from the refrigerator the next morning, adding 30 seconds of additional fry time per side to account for the cold dough temperature. This overnight cold proof also develops a slightly more complex, yeasty flavor in the sweet dishes recipes tradition of slow-fermented doughs.
FAQ
Can I bake these donuts instead of frying them?
Yes, though the texture is noticeably different from the fried version. Baked homemade glazed donuts are softer and more bread-like rather than the light, crisp-exterior result that frying produces. To bake, place proofed donuts on a parchment-lined baking sheet and bake at 375°F for 10 to 12 minutes until just set and very lightly golden on the bottom. They should look pale on top. Glaze immediately while warm. The baked version works well as an easy baking recipes alternative when frying feels like too much, and the donut holes are particularly good baked since they develop a slightly crisp exterior from the higher surface-to-mass ratio that partially mimics the frying result.
Why didn’t my donuts puff up properly during frying?
Under-proofed donuts are the most common cause. If the second proof was cut short or the kitchen was too cool for the dough to rise adequately, the donuts will fry up dense and tight rather than puffing into light, airy rounds. After cutting and placing on baking sheets, the donuts should look noticeably puffier and feel very light and airy when gently lifted before going into the oil. A simple test is pressing one lightly with a fingertip. If the indent fills back slowly, the dough is ready. If it springs back immediately, it needs more time. Proofing in a slightly warm environment, such as near a preheating oven or in an oven with just the light on, accelerates the second rise to the right point within the 30 to 45 minute window.
Can I make the dough the night before?
Yes. After the first rise, punch the dough down gently, cover tightly with plastic wrap, and refrigerate overnight for up to 12 hours. The cold temperature slows but doesn’t stop yeast activity, producing a slow fermentation that deepens the flavor of the finished homemade glazed donuts slightly. The next morning, remove the dough from the refrigerator and let it rest at room temperature for 20 minutes before rolling and cutting. The second proof will take slightly longer than usual, around 45 to 60 minutes, since the dough starts cold. Proceed with frying as normal once the donuts are visibly puffed and pass the fingertip test described above.
What oil is best for frying donuts?
A neutral oil with a high smoke point is the practical choice for frying donuts at 350°F to 360°F. Vegetable oil, canola oil, and sunflower oil all work well and produce a clean, non-intrusive flavor that doesn’t compete with the vanilla and butter notes in the dough. Coconut oil can be used but leaves a subtle coconut flavor in the finished donut that some people enjoy and others find distracting. Avoid olive oil since its lower smoke point and strong flavor are both unsuitable for deep frying at this temperature. Using a deep heavy pot, such as a Dutch oven, rather than a shallow pan maintains the oil temperature more consistently between batches, which is the most practical single upgrade for anyone making homemade glazed donuts for the first time.
How do I get a thin, crackled glaze rather than a thick one?
Glaze consistency and donut temperature are the two controls. A thinner glaze made with slightly more milk produces a more transparent, crackled finish. The ratio of 2 cups powdered sugar to 5 to 6 tablespoons of liquid is the starting point. Add milk a teaspoon at a time until the glaze runs off a spoon in a thin, steady ribbon rather than falling in thick drops. Dipping the donuts while still warm, within 2 to 3 minutes of coming out of the oil, helps the glaze set quickly to a thin coating rather than pooling thickly. If the glaze thickens as it sits, add another teaspoon of milk and stir to loosen it back to the right consistency before continuing to dip the remaining donuts.
Homemade Glazed Donuts
Ingredients
Equipment
Method
- Combine flour, yeast, sugar, and salt in a stand mixer bowl. Add warm milk, egg yolks, and vanilla. Mix on low 2 minutes then medium for 4 minutes.
- Add softened butter one tablespoon at a time with mixer running. Knead on medium 6 to 8 minutes until smooth and windowpane-ready.
- Place dough in an oiled bowl, cover, and let rise at room temperature 1 to 1.5 hours until doubled.
- Turn dough onto a floured surface and press to 1/2-inch thickness. Cut 3-inch rounds and 1-inch holes. Transfer to parchment-lined sheets. Proof loosely covered 30 to 45 minutes until puffed.
- Heat oil to 355°F in a heavy pot. Fry 2 to 3 donuts at a time, 60 to 90 seconds per side until deep golden. Drain on a wire rack 2 minutes.
- Whisk glaze ingredients until smooth. Dip warm donuts face-down, lift, let drip 3 seconds, and return to rack glaze-side up. Glaze sets within 5 minutes.
Notes
- Maintain oil temperature at 350°F to 360°F throughout frying – let oil recover between batches to prevent greasy donuts.
- Proof the cut donuts fully before frying – under-proofed donuts fry up dense and tight without the signature puff.
- Use egg yolks only, not whole eggs – yolks add richness without extra water that makes the dough sticky and the crumb chewy.
- Dip donuts while warm, within 2 to 3 minutes of frying, for a thin crackled glaze rather than a thick pooling one.
- Store loosely covered at room temperature – airtight storage traps moisture and fully softens the glaze overnight.